DIY Lace Teepee Tent
Materials needed:
2.5 Yards Lace Fabric
2 Rubber Bands
Sewing Machine ( trust me the sewing involved is simple)
If you know me personally you know that I love DIY, don't profess to be good at sewing, love to save money, and have expensive taste. That's how this tutorial came to be.
I wanted a teepee tent for my daughter to play in, so I started searching Pinterest for ideas. I looked on Amazon and didn't see anything I liked. On Pinterest I saw lots of pretty pictures, but few tutorials. And if there was a tutorial there was a lot of sewing involved. I thought I could do it easier and still get the same look so I headed out to get materials.

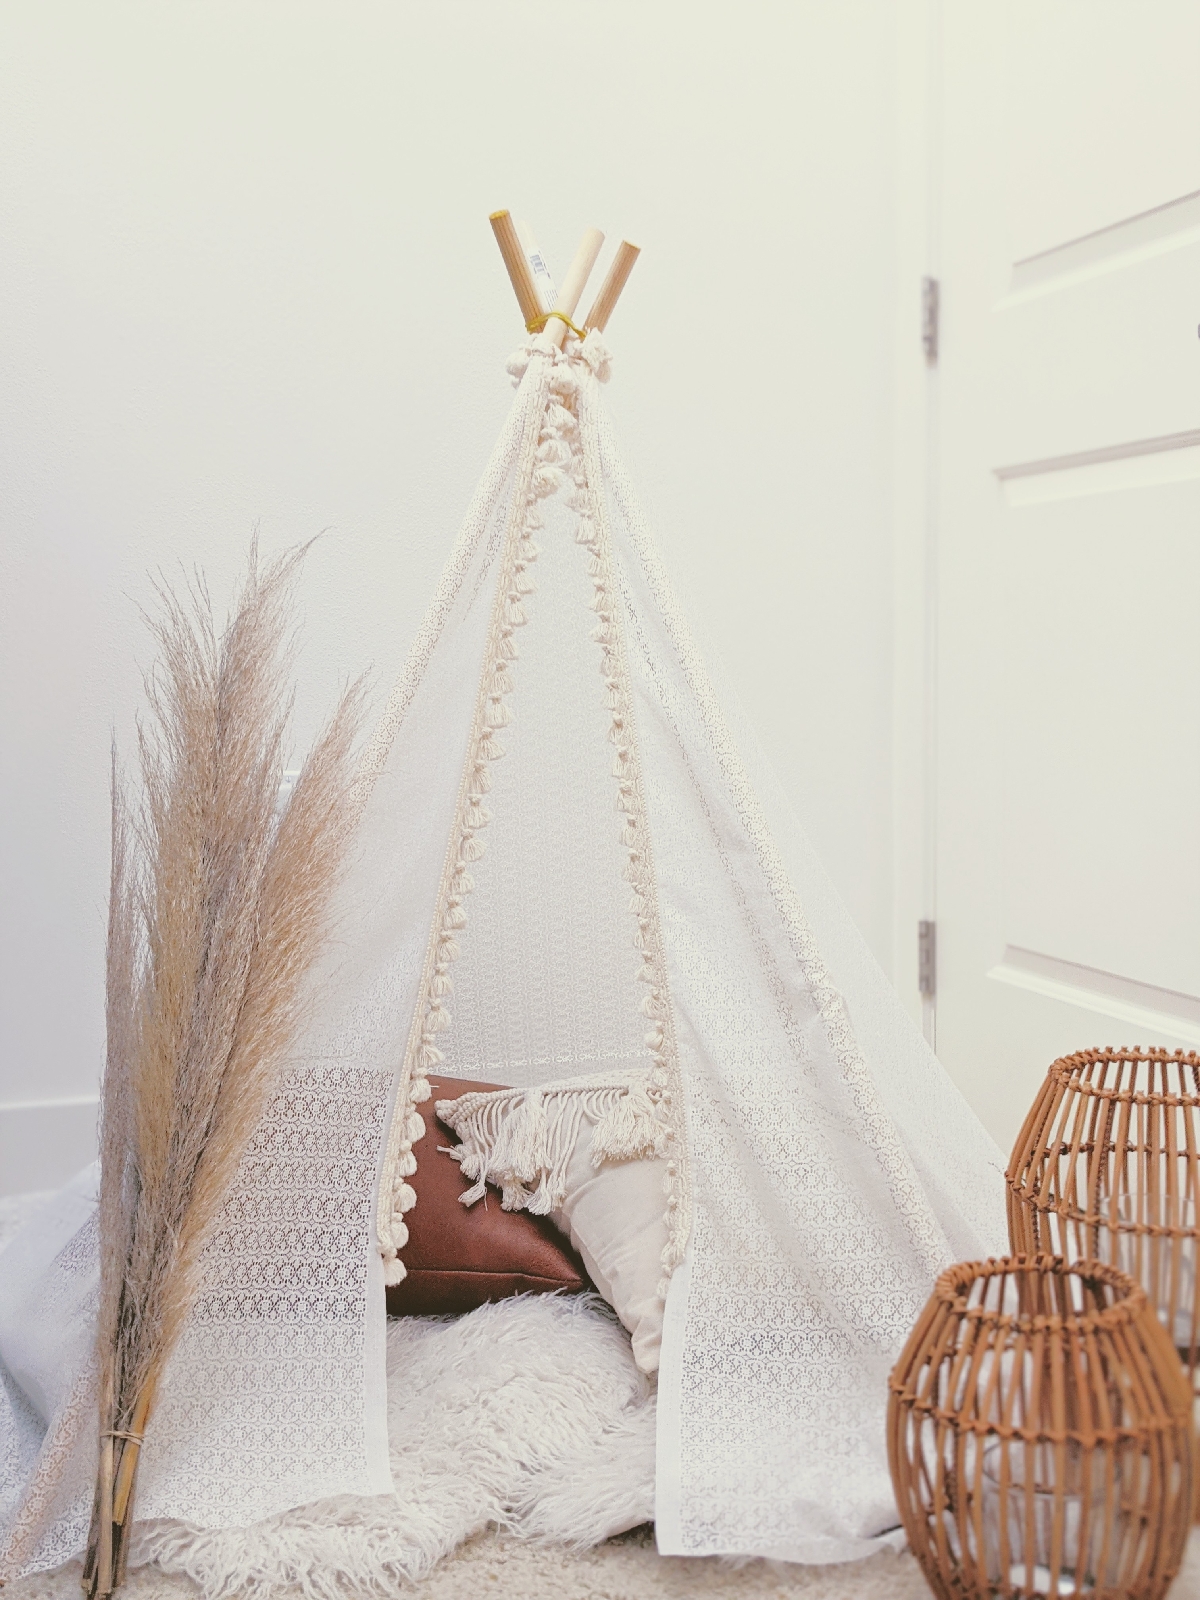
Once you've gotten all of your materials hold the poles and wrap them with a rubber band. Spread the legs out until you have 4 even corners.

That's all you need for your structure. Another option that would take minimal effort would be to drill holes about 4 inches down to tie rope through.

At the edge of your lace sew your tassel fringe. This is the only sewing involved. You can do it! I recommend getting fringe the same length as your fabric. That's the blessing of being the reader and not the writer. I already made that mistake for you. The tassel ending early in my teepee tent doesn't kill me, but I'd do it differently next time.

Next wrap your fabric around and secure a rubber band around it.

Lastly style it with all of the boho decor you can find and you've got the perfect teepee tent. Let me know how yours turns out in the comments. Just a side note babies and toddlers love to pull on the fabric and tassels. It likely wouldn't hurt them if it fell over, but don't risk it. Be attentive when they're in the tent.
When you're ready to pack it up it's so easy to pull apart and tuck away until your baby is ready to play!
PS. This tent is versatile you can switch up the look by adding flowers, greenery, and good old fashion sunshine!
Note: in this version I only used 3 poles.


Comments
Post a Comment