DIY Kid Picnic Table
Material List:
1 1/4 in wood screws
1 1/4 in pocket hole screws
Kreg jig
Miter saw
Drill
Sander
Stain or paint
Wood putty (optional)
Wood glue
3 1x6x8 boards
1 1x4x8 board

From your first 1x6 board
Cut 2, 35 in sections and 1, 26 in
Do the same with your second 1x6 board
From your final board cut 1 piece at 35 in and 1 piece at 26 in
In total you will have 5 pieces cut to 35 in and 3 pieces cut to 26 in
From your 1x4 board
Cut 4 boards with a 10° bevel cut at 14 in long
Make sure both sides of each board are cut at 10° in the same direction
Cut 2 boards back at 0° to 12 in

To begin assembly, choose the sides you want to be the top of the tabletop from the 35 in pieces. Face those down. Wood glue then clamp the boards together.
Lay the 26 in boards on top. Don't worry too much about how far in or out. As long as the distance is the same for each board. So if my support board is two inches from the edge on one side it should be 2 inches from the edge on the other side. You could put it right up to the edge or more inset like I did.
Predrill then screw down the boards using 1 1/4 in wood screws.

Next assemble the legs. Using a kreg jig, drill 2 pocket holes on the top of each 14 in leg. Drill 2 pocket holes on each side of the 12 in boards.

To keep myself organized, I draw arrows where my pocket holes need to be. You want the leg to be oriented so that when it stands the legs angle outwards.
Draw a line in the middle of each board. Match up the lines, clamp, and drill.


All that's left to do is pick a finish.

Since this is an outdoor table I did minimal sanding to enhance the natural look. I painted the table in lambskin by Behr
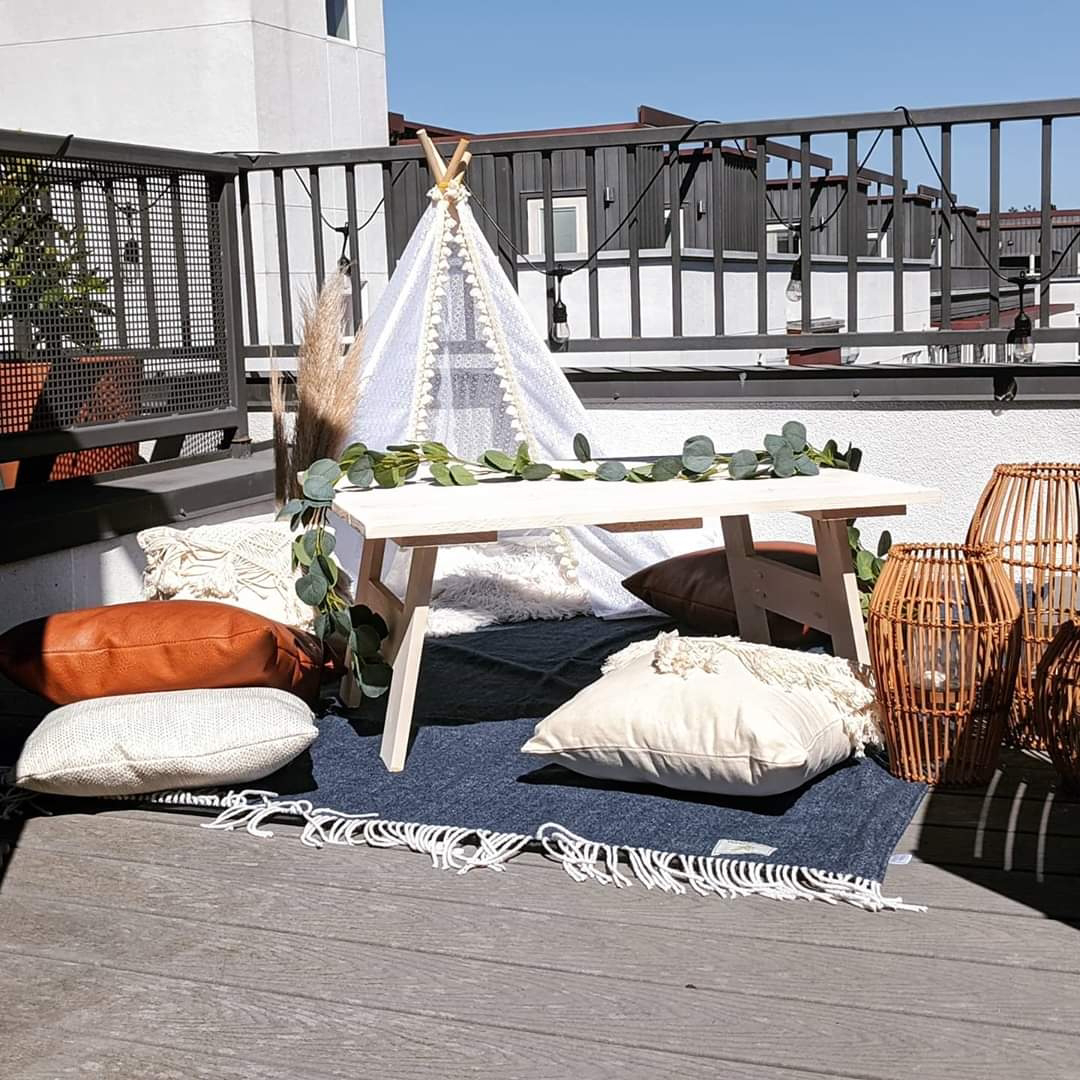
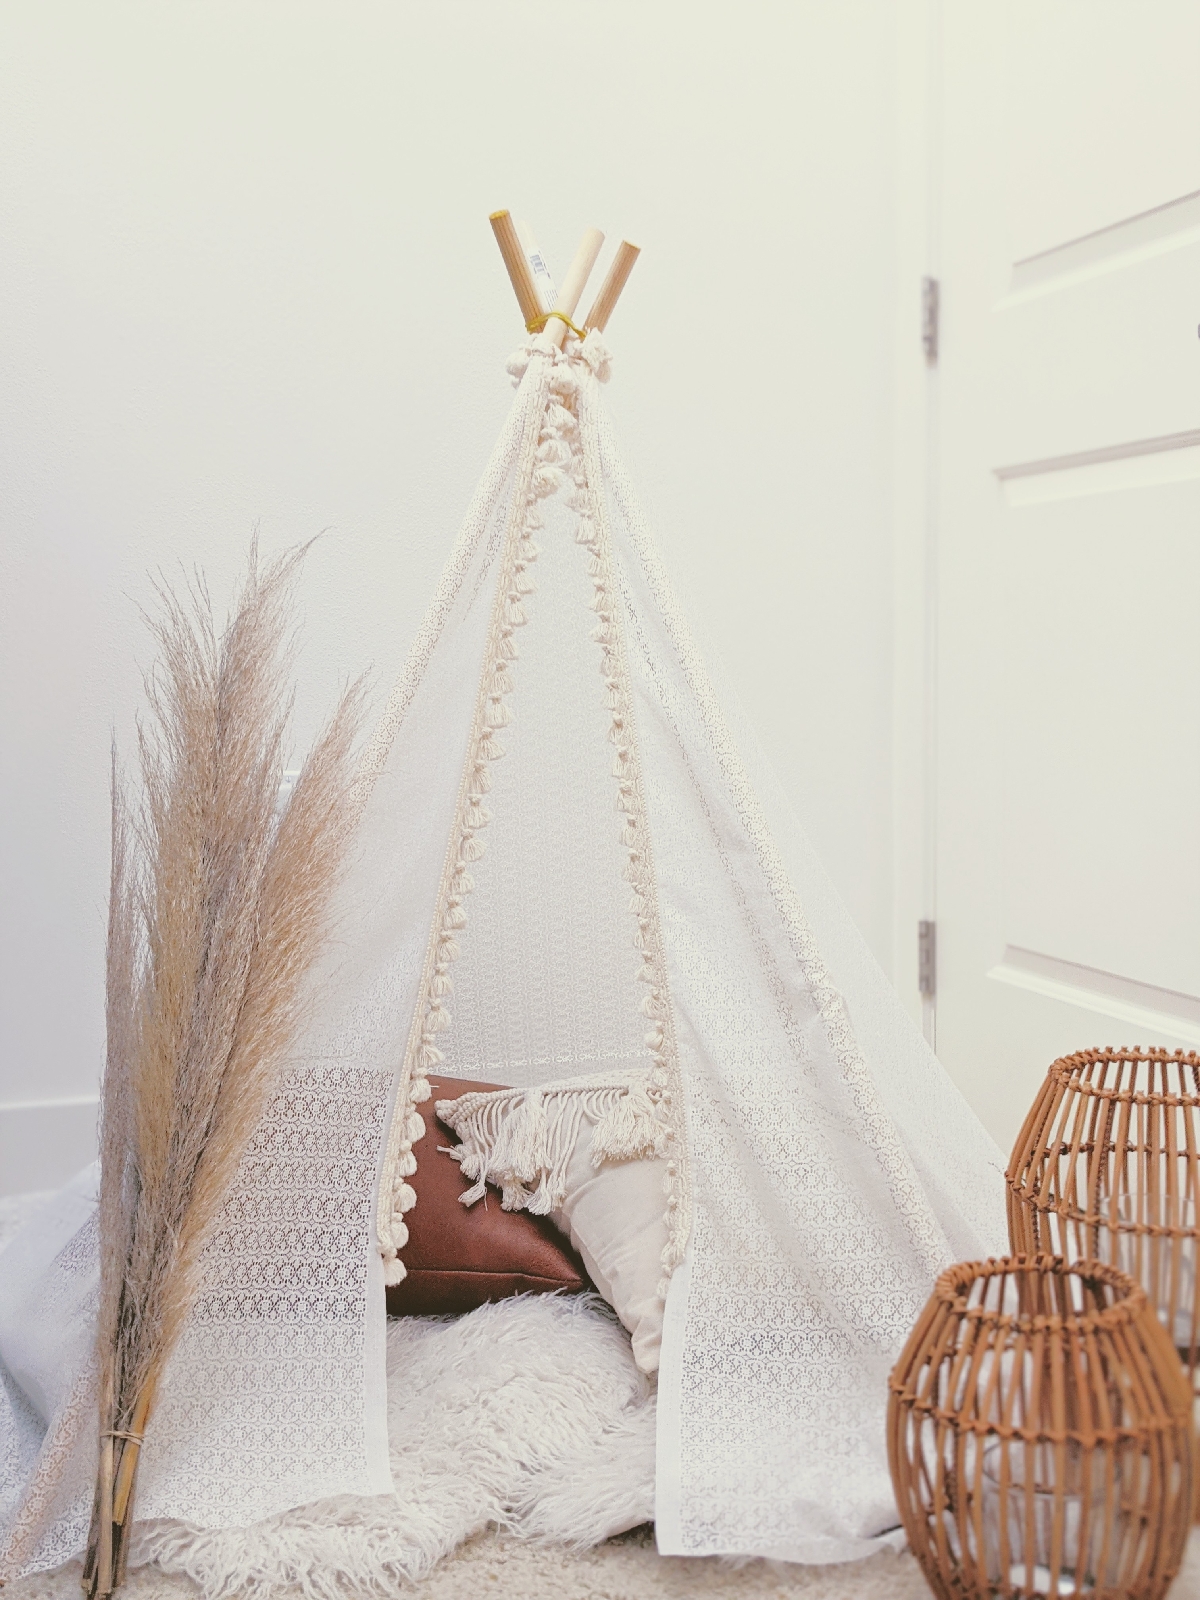
If you've read this far I'll give you a sneak peak of how I'm going to style it for my baby's first birthday.


Comments
Post a Comment